


WordPress
By adding a Custom HTML block to WordPress you can add your own code to a WordPress page. To embed the Vulp Configurator into your page you have to add an HTML iframe element to your WordPress website. Through this option you don’t have to host all the virtual product files. It allows you to integrate external content seamlessly without users having to leave your site, and gives you access to every feature Vulp has to offer.
To embed the Vulp viewer in WordPress you need to add a Custom HTML block.
-
Log in to your WordPress admin dashboard.
-
Create a new post or edit an existing post/page where you want to add the Vulp Configurator
-
Decide where you want the iframe to appear on the page
-
Add a Custom HTML block
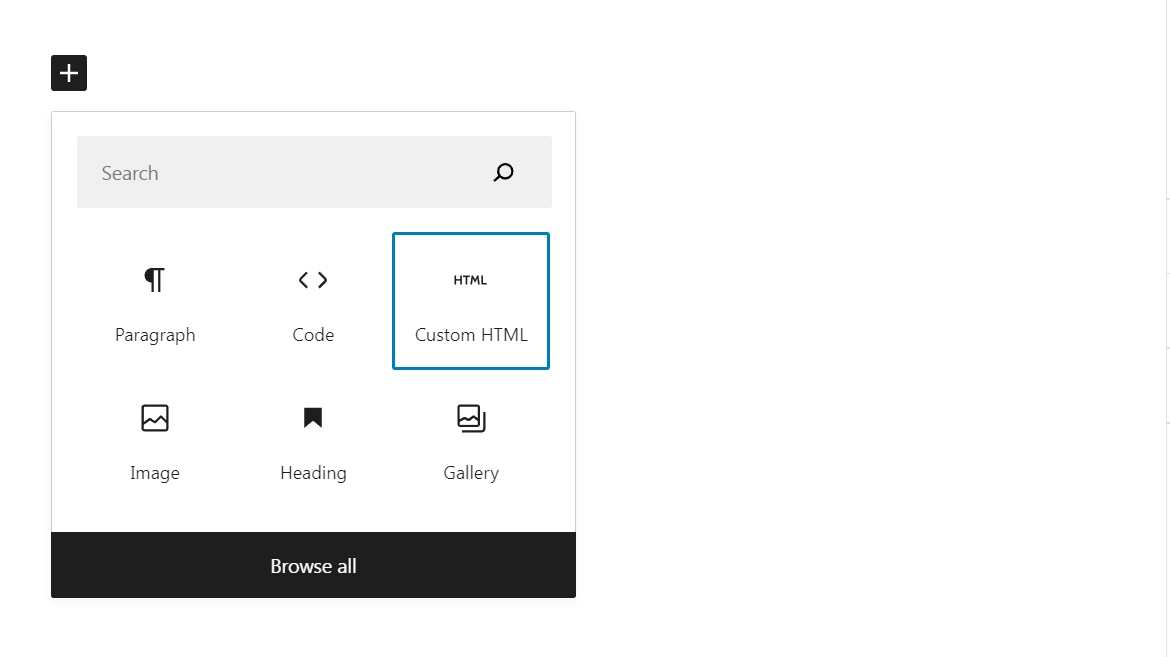
-
Copy the HTML example code tag at that location.
 <iframe
    src="https://vulp.studio/<customerId>/<modelId>/<lang>"
    allow="xr-spatial-tracking; fullscreen; web-share; clipboard-write"
    referrerpolicy="no-referrer-when-downgrade"
    width="600"
    height="400"
    frameBorder="0"
    title="Vulp.studio"
  ></iframe>
-
Replace the
<customerId>,<modelId>and<lang>with the values from the source URL you can copy from the CMS. Please note that embedding is only possible if the website domain is on the client’s whitelist set in the CMS. -
Customize the iframe by adding attributes to the
<iframe>tag. Some commonly used attributes include: -
Customize the viewer and model by adding parameters to the
src. You can find all parameters on our documentation website. -
Save the file and upload it to your website